Common Accessibility Issues: Scanned PDFs

What are some of the most common accessibility issues? What makes them problematic? And how can you fix them? In this series of blog posts we will address the most common accessibility issues that we have seen on campus and provide instructions and guidance for fixing them.

What is a Scanned PDF?

A common method for digitizing content is to place a paper copy (or book) onto a scanner and save the resulting file as a PDF. Unfortunately, the resulting document only contains images of the text, not the text itself.
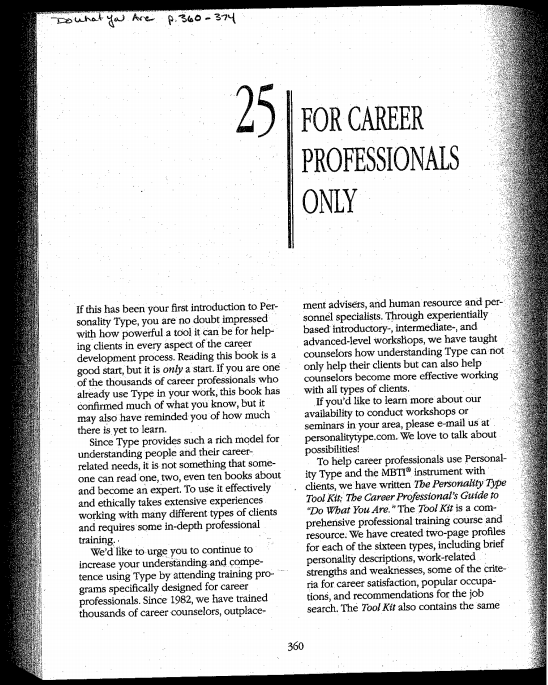
image of scanned PDF
image of a scanned PDF

What makes scanned PDFs problematic?

Because these documents contain images of the text and not the text itself, scanned PDFs are inaccessible to anyone using assistive technology, such as a screen reader.

The text in scanned PDFs often looks off-center and can be blurry or difficult to read, slowing down reading and lowering comprehension. Images alongside the text can appear too dark or too grainy to see clearly. Additionally, students cannot search, highlight, or annotate the document for their notes.

How do I fix it?

If possible, find a digital copy of the original document. If you find a digital version online, link to it. Do not download the document and upload it into your course, as this may violate copyright.

If you cannot find a digital copy, contact a librarian. A librarian can help you determine fair use and copyright or help you search for an alternate accessible resource. Email asklib@lesley.edu for assistance.

If you are the owner of the document, or have permissions from the author or publisher to modify it, be sure to use an OCR (Optical Character Recognition) scanner or software to convert the scanned document to text. If you scan or convert your text you will still need to read through the document and update as necessary. For more information see Scan a Paper Document to PDF (Acrobat Pro).

If you need to make a PDF accessible to a student with a documented accommodation, email disabilityaccess@lesley.edu for assistance.

Need Assistance?

If you need assistance making your content accessible, reach out to elis@lesley.edu. You may also check out the following resources:

Common Accessibility Issues: Adding Alternative Text to Images

What are some of the most common accessibility issues? What makes them problematic? And how can you fix them? In this series of blog posts we will address the most common accessibility issues that we have seen on campus and provide instructions and guidance for fixing them.

What is it alternative text?

Alternative text is a short description of an image that assistive technology can access and read aloud to the user. These descriptions are usually very brief, typically 20 words or less. 

Why is alternative text important?

Images and graphics help to make content more pleasant and easier to understand for many people, including those with cognitive and learning disabilities. However, it is important to make sure that these images are accessible to all users, including those using screen readers, speech input software, mobile web users, and more. Alternative text allows users who cannot see the content understand the information conveyed in these images. It also provides all users with richer content and ensures understanding for global students. 

When creating content, keep the following in mind:

  • Provide a text equivalent for every non-text element. 
  • Avoid using text in images as the sole method of conveying information. If you must use the image, repeat the text in the document.

How do I add alternative text to my images?

The following resources will walk you through adding alternative text to images in myLesley, Microsoft Office (including Word, PowerPoint, and Outlook), and Acrobat Pro.

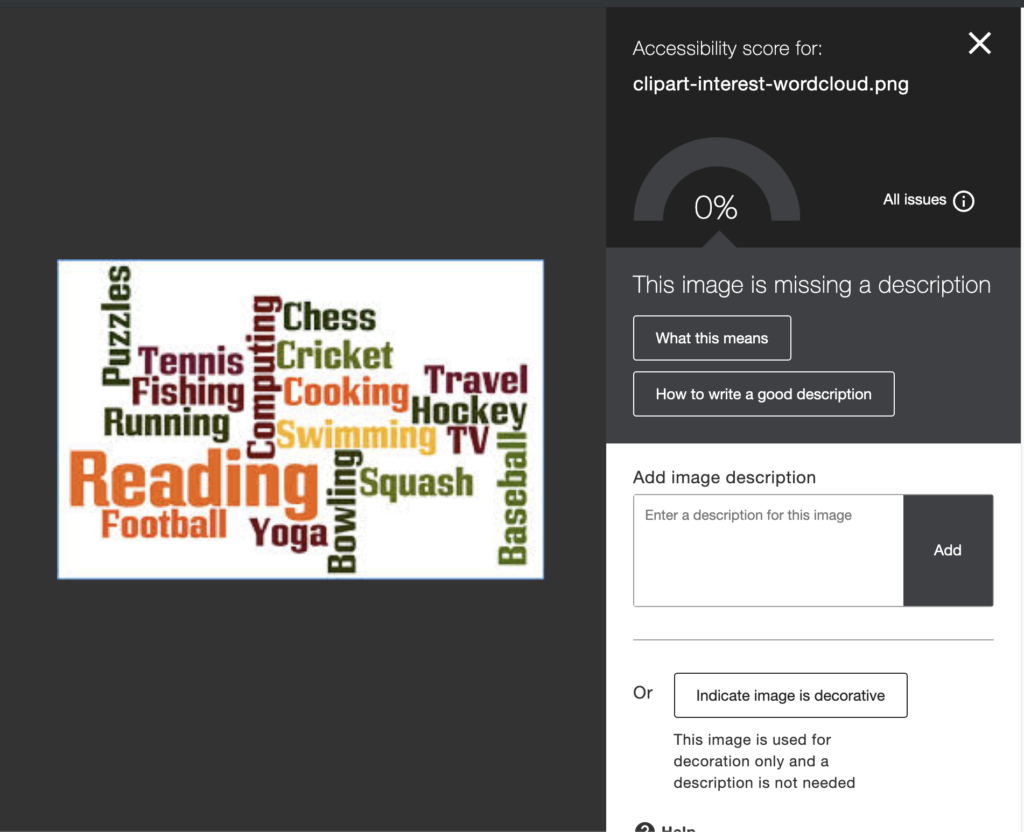
If your image was uploaded into myLesley without a description, Ally will walk you through adding an image description. Once you add the description, you will see your accessibility score increase.

sample Ally accessibility score for an image needing a description
Adding alternative text to an image using Ally

How do I know what to put in my description?

Your image description will vary depending on the image itself and the content of your page/document. For example, you may add an image of a flower to your document. Is your flower there just to spruce up the page and make it visually pleasing? Mark it as decorative. Is your flower there to show an example of some flowers in the park? Write a brief description. Is your flower there to show specific characteristics of the species? Write detailed information that will allow anyone who can’t see the image understand the information being shown.

Here are some basic guidelines for different image types:

Decorative Images: If the sole purpose of the image is to add decoration to the page, rather than convey information, mark your image as decorative.

Informative Images (Pictures, Photos, Illustrations): When using images that represent concepts and information, such as pictures, photos, and illustrations, the text should be a short description stating the essential information conveyed in the image.

Text Images: If possible, it is best to avoid images of text. If you are using text images, the alternative text should contain the same words as shown in the image.

Graphs and Diagrams: Provide a full-text equivalent of the data or information provided in the image.

Need Assistance?

If you need assistance making your content accessible, reach out to elis@lesley.edu. You may also check out the following resources:
Introducing the Ally Course Accessibility Report

Blackboard Ally has released a new instructor course accessibility report. This report allows you to see the big picture as well as specific details about the accessibility of your course content.

What is the Ally Course Accessibility Report?

When you create or upload content into your myLesley course, Blackboard Ally automatically checks your content for accessibility. Ally checks to make sure that PDFs are readable and not scanned images, images have alternative text, tables contain headers, headings are used correctly, text has sufficient contrast, and more.

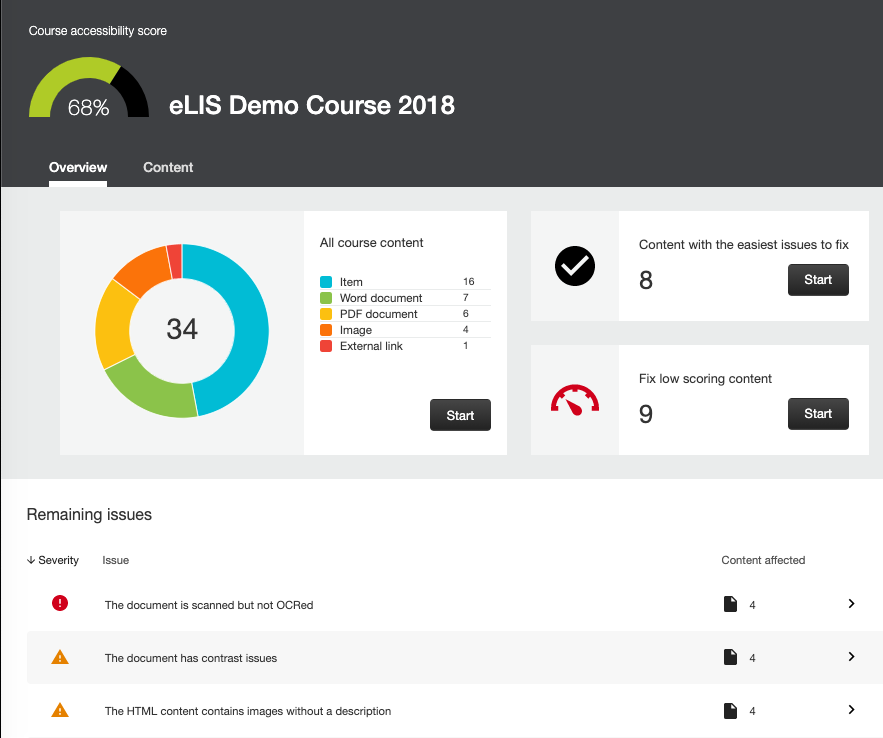
The Ally Course Accessibility Report collects all of this data and presents it in a visual dashboard. The report shows you an overall accessibility score for your course, details the different types of content in your course, and shows you which content needs your attention.

Image of a sample course accessibility report, detailing the overall accessibility,
Sample Ally Course Accessibility Report

When you click on an item in the Course Accessibility Report, Ally will explain the accessibility issue with the content item and walk you through the steps to fix it.

How Do I Get Started?

Ready to check your course’s accessibility and start working on fixing your accessibility issues?

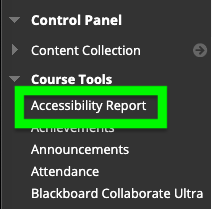
Go to your Course Control Panel, select Course Tools, and select Accessibility Report.

course control panel

Once the Course Accessibility Report loads, you will see an overall accessibility score for your course. Scores range from Low (red icon) to Perfect (green icon). The higher your score, the fewer the issues.

sample Ally course accessibility score: 68%
ally low score indicator

Low (0-33%): Course content is not accessible and needs immediate attention.

Ally medium score indicator

Medium (34-66%): Course content is somewhat accessible and could use improvement.

ally high score indicator

High (67-99%): Course content is accessible but could be improved.

ally perfect score indicator

Perfect (100%): Course content is accessible. No improvement needed.

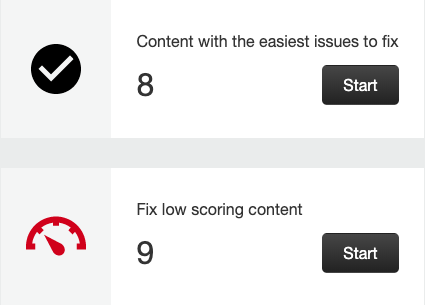
Not sure where to start fixing content? Ally makes it easy by showing you the content that’s easiest to fix as well as the content with the lowest accessibility scores.

Ally report showing the content easiest to fix and lowest scoring content

Don’t have a lot of time? Start with the easiest issues to fix. These are usually quick fixes, such as images that don’t have alternative text. These little fixes can do a lot to improve the overall accessibility of your course.

More Information

For more information on accessibility:

If you need assistance using the Course Accessibility Report, interpreting your accessibility score, or making your content accessible, reach out to elis@lesley.edu.

Introducing Kaltura Personal Capture

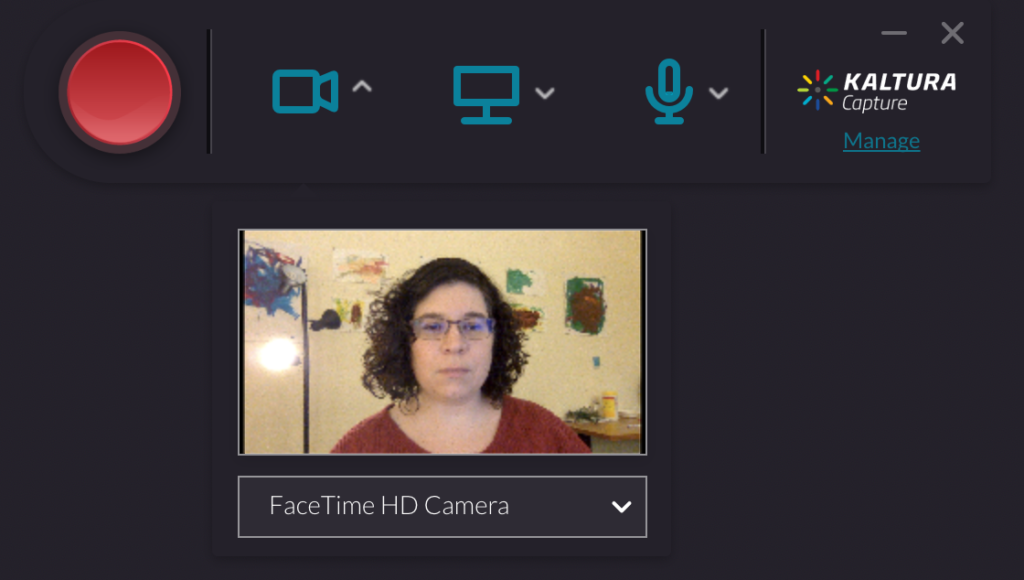
Kaltura Capture is Kaltura’s updated presentation and production tool, replacing CaptureSpace Lite. You may use Kaltura Capture to record any combination of your screen, voice, and webcam. These videos can then be easily uploaded to your My Media library in myLesley.

Some sample use cases for Kaltura Capture include:

  • Create a webcam recording as part of your course introduction.
  • Narrate a PowerPoint presentation and post it in your course.
  • Record an application demo on your computer.
  • Walk your students through a process or analysis while providing commentary.
  • Give a tour of your myLesley course.

If you can view it on your computer, you can record it, narrate it, and share it with your students. Your students can then review it as often as needed.

Kaltura Capture will be replacing the older tool: Kaltura CaptureSpace Lite. If you have been using CaptureSpace Lite, we recommend switching over to Kaltura Capture.

More information and detailed instructions may be found on our support site: Kaltura Capture

Grading in the Blackboard Instructor App

The Blackboard Instructor app now allows you to grade directly within the app on your iOS or Android device (phone or tablet)!

Please see the Grading in Blackboard Instructor video tutorial for more information.

Want to learn more about the Blackboard apps for faculty and students? See Blackboard Mobile Apps for an overview of the Blackboard App for students and the Blackboard Instructor app.